How to Adjust an Adjustable Door Sill: The Dollar-Bill Test, Step by Step
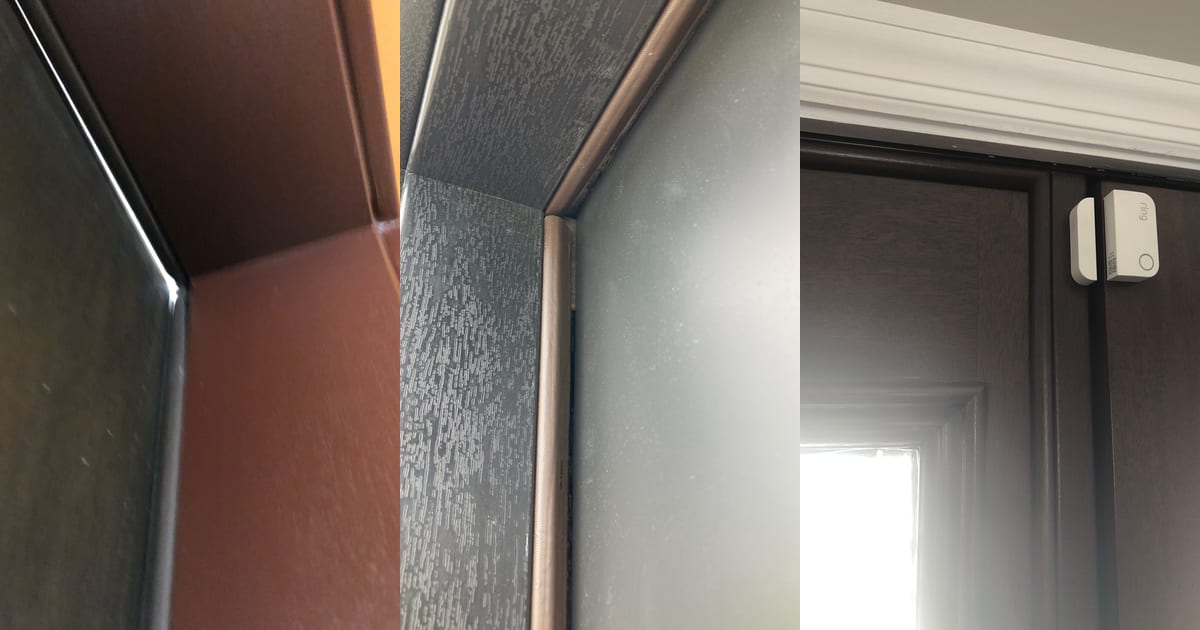
An adjustable door sill is set right when a dollar bill closed under the door is snug and slightly difficult to pull out, but comes out without tearing, checked at every adjustment screw. That is the test Therma-Tru’s installation instructions give, and Pella’s owner’s manual describes the same check with a dollar bill or a sheet of paper. The adjustment itself is a screwdriver turn on each screw in the threshold cap, often under a cover or plug. Pella’s manual warns not to raise the threshold more than 1/4 inch. If the bill pulls free no matter how the cap is set, the problem is usually elsewhere: a worn door bottom, painted weatherstrip, a humped sill or a jamb out of line.

The Short Answer
Close the door on a dollar bill and pull it out. When the adjustable threshold is set correctly, Therma-Tru’s installation instructions say “it should be snug and slightly difficult to pull a dollar bill out from under the door when it is fully closed. The dollar bill should be able to be removed without tearing.” Do the check at each adjustment screw, not once in the middle.
If the bill slides out with no drag, raise the cap at that screw. If it will not come out, or tears, lower it. Adjust a little at a time and test again after every change.
Sills, door bottoms and weatherstripping are a routine part of warranty work. Weatherstripping, sills and leaks appear in 15% of the 246,000+ door and window work orders with a written request in UTS ServicePros’ field record, January 2008 to September 2026.
What the Adjustable Part Is
The sill, or threshold, is the bottom of the door frame. Pella’s owner’s manual for its fiberglass and steel entry doors describes it as “the bottom of the frame that rests on the floor,” and the door sweep as the weatherstripping at the bottom of the door that “forms a seal against air and water infiltration between the door and the sill.”
On an adjustable sill, the part the sweep closes against is a separate cap that sits in a channel and can be raised or lowered with screws along its length. Moving the cap up or down changes how hard the sweep presses on it, which is what the dollar-bill test measures.
Step 1: Find the Adjustment Screws
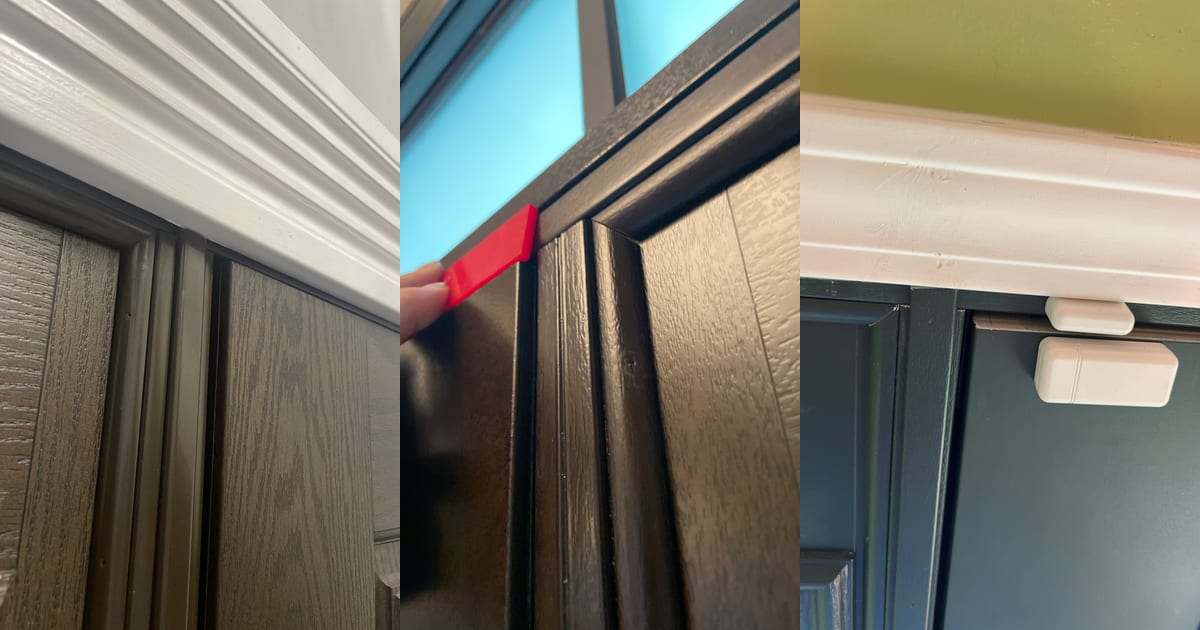
The screws run along the threshold cap. Many sills hide them. Pella’s manual says, “Some sills may have covers over the adjusting screws. These covers must be removed prior to making any adjustments,” and recommends a stiff-blade putty knife to pry them off.
ProVia’s instructions for its ZAI adjustable threshold give two ways in. Either remove the cap plugs, first placing tape around them “to protect finish” and prying them away with a flat blade, or pry the whole sill cap up out of its channel, working from one end with a small wood block on the sill deck to prevent damage, and reach the screws from underneath. ProVia is explicit that these are alternatives: if you take the cap off, do not remove the plugs.
Step 2: Turn the Screws in Small Steps
Check which way your manufacturer’s threshold moves before you start. Pella’s manual describes its own sill this way: turn the screws counterclockwise “so the threshold can be lifted off the sill, or clockwise to tighten the screws so the threshold lowers closer to the sill.” Repeat for each screw.
Pella sets one hard limit: “DO NOT raise the threshold height > 1/4", due to threshold likely not being secured firmly to the sill.” A cap that needs more than that to reach the sweep has a different problem, covered below.
Step 3: The Dollar-Bill Test at Every Screw
Close the door fully on a dollar bill placed over an adjustment screw, then pull it out. Pella’s wording: “Close the door on a dollar bill or sheet of paper located above an adjustment screw; light friction should be felt when pulling the paper out indicating a good seal is being made.” Therma-Tru’s standard: snug, slightly difficult to pull, and removed without tearing. “This check should be performed at each adjustment screw location.”
On a door with sidelites, Therma-Tru’s instructions for venting sidelite systems apply the same test under the door and the sidelites, at each adjustment screw on each active threshold cap. ProVia’s instructions end the same way in different words: open and close the door to check, then “check for an even seal along full length of door sweep,” and repeat until it is sealed.
Step 4: Put It Back Together
Reinstall the covers or plugs. ProVia’s instructions say to tap them in with a rubber mallet if needed and, if any were damaged during adjustment, to replace them with new plugs. If you removed the whole cap, snap it back into its channel; ProVia notes the leg of the cap should touch the threshold deck when properly seated.
Therma-Tru adds a final check: after adjusting the threshold cap, “ensure that the weatherstrip is flush with the top of the threshold cap. Trim as necessary.” On inswing units, its corner seal pads go on after the sill is set, with sealant at the joint where the threshold cap meets the jambs.
When the Dollar-Bill Test Will Not Pass
If the bill still slides out at one end however the cap is set, look past the threshold. Therma-Tru’s troubleshooting guide lists the causes of leaks around or under a sill: a door not meeting the weatherstrip evenly when it closes, damaged or painted weatherstrip, a sill humped or depressed beyond the door bottom’s sealing capacity, a damaged sill saddle that makes the door bottom’s bulb seal bunch up and wrinkle, and a damaged door bottom. Its remedies range from reshimming the lock-side jamb and anchoring the sill, to replacing the weatherstrip, the door bottom or the saddle.
Pella’s manual says door bottom seals that are “missing, misplaced, brittle or damaged” must be replaced, and that infiltration can also come from a frame that is not square. A sill that cannot be adjusted to seal can be a frame problem, which is the subject of door warranty problems: check the frame, sill and hinges first and of doors that look warped because the jambs are out of plane.
Therma-Tru’s repair manual treats a worn cap as a replacement part: unscrew the adjustment screws, lift out the old threshold, screw the new one down, and make any sill adjustments for a proper seal before reapplying the corner seal pads.
Who Sets It for You
Setting an adjustable threshold is in scope for UTS ServicePros repairs, and where a part is needed, the parts fitted are the manufacturer’s own, not aftermarket substitutes. UTS does not paint or refinish.
If the door is under warranty, start with its manufacturer, which decides what is covered and dispatches the repair; what to expect when a contractor comes on the manufacturer’s behalf. If the door is out of warranty, or the part is covered but the labor is not, request a repair quote with photos of the sill and the door bottom. Questions first? Contact UTS ServicePros.
Technical references
- Installation Instructions for Pre-hung Door Systems — Therma-Tru Doors. Step 8, Adjust Sill: the dollar-bill test (snug, slightly difficult to pull, removed without tearing), at each adjustment screw; weatherstrip flush with the threshold cap; corner seal pads on inswing units.
- Installation Instructions for Single Door with 2 Venting Sidelites Systems — Therma-Tru Doors. The same dollar-bill test under the door and sidelites, at each adjustment screw on each active threshold cap.
- SITE 4 Troubleshooting, 2017 Site Manual — Therma-Tru Doors. Causes and remedies for water leakage around or under a sill, including uneven weatherstrip contact, painted weatherstrip, a humped sill, a damaged saddle and a damaged door bottom.
- SITE 5 Repair and Replacement, 2017 Site Manual (Adjustable Sill Threshold Replacement) — Therma-Tru Doors. Replacing an adjustable threshold: unscrew the adjustment screws, fit the new threshold, adjust for a proper seal, reapply corner seal pads.
- Entry Doors: Fiberglass and Steel Owner’s Manual — Pella Corporation. Sill and door sweep definitions; screw direction; covers over the adjusting screws; the dollar bill or paper test above each screw; do not raise the threshold more than 1/4 inch; replace damaged door bottom seals.
- Installation Instruction Manual: Single Entry Door with Sidelite(s), FrameSaver (Version 3.2, September 22, 2026) — ProVia. ZAI adjustable threshold: remove the cap plugs or the sill cap to reach the screws, check for an even seal along the full length of the door sweep, reinstall or replace the plugs.
- Door & Window Warranty Field Record — UTS ServicePros. Weatherstripping, sills and leaks appear in 15% of 246,000+ work orders with a written request, January 2008 to September 2026.